As Internet speeds increase, videos are increasingly common on websites. Videos can make a site dynamic and more interesting than a static page. With Avada, we offer a wide range of options for adding videos to your website, including YouTube, Vimeo, and self-hosted videos.
Generally, YouTube and Vimeo videos are most commonly used, as these are not served directly from your server and so don’t affect your bandwidth, but self-hosted videos, despite their potential for affecting page load speed and server bandwidth, can also be used in clever ways in Avada, and should not be ruled out. This help file looks at how videos can be used in Avada.
Where Can I Use Videos In Avada?
Videos In Sliders
All major sliders that ship with Avada support videos, including Avada Slider, Slider Revolution, and Layer Slider. Of course, each slider has a different process for adding videos, but all three support YouTube, Vimeo, and self-hosted videos.
You can use any video type in a slider, but this is generally where self-hosted videos come into their own. The most appropriate videos for sliders are often small background videos that are muted, autoplay upon load, and with no controls. YouTube and Vimeo videos often have overlays and ads, etc, so it’s here a small self-hosted video fits the bill.
Videos As Container Backgrounds
You can also use videos as Container backgrounds, through the Container > BG > Video tab. Again, these are best as background videos, rather than feature videos, as the container dimensions may not fit the video size and content will likely be placed above the video in the container and its column/s.
For more details on the Container Background tabs, including the video tab, please see the How To Use Container & Column Background Options doc and video.
Videos In A Lightbox
Videos can also be opened in a Lightbox, in a variety of ways. You can of course use the Lightbox Element, which we will cover below, in the Elements section, but you can also trigger a video in a Lightbox from a Column.
Editing any Column, you will find the Link URL field and the Link Target field, directly below this. Simply add your video URL in the Link URL field, and set the Link Target Field to Lightbox. The whole column then becomes a link, and clicking on it brings the video up in a Lightbox, ready to play.
Useful Elements for Videos
There are three video Elements in Avada, as well as a number of elements that can be used to trigger or display videos.
Some Examples
Self-Hosted Video in a Lightbox Element
Self-Hosted Video in a Lightbox, being triggered from a Column
Self-Hosted Video in a Lightbox, being triggered by a Button
Self-hosted Video in a Video Element with 10px border radius.
YouTube Video in a YouTube Element
Self-Hosted Video opening in a Modal
The Video Element offers the ability for users to post self-hosted video clips easily to their Avada websites. See below for more information, and watch the video for a visual overview.
How To Use The Video Element
The Video Element is easy to add anywhere in your content. Follow these simple steps below. To start, just add the element to your desired column.
Add your video file in the first option, Video MP4 Upload. You can either select one already in the media library, or upload one. You can also upload a WebM file, but this is optional.
Once you have added your video file, continue configuring the element with your preferred function and styling options.
Read below for a detailed description of all element options.
Element Options
Note: The Default setting will use the global settings assigned for this element in Avada > Options > Avada Builder Elements > Video section. Also, please not that the displayed option screens below show ALL the available options for the element. If you have Avada’s Option Network Dependencies turned on, you will only see options relevant to your selections, and so the options screen may look somewhat different.
Adding a YouTube video to your website has never been easier thanks to the Avada Builder YouTube Element. Just add the YouTube video ID, and away you go. It’s even got built in responsive features, so you don’t have to worry about the size of your videos! Read below to discover how to make the most of the YouTube Element, and watch the video below for a visual overview.
How To Use The YouTube Element
Adding a YouTube video to your content couldn’t be easier. To start, add the element into your desired column.
Now, you have the options window open. The first and most important step is to enter the YouTube video ID into the Video ID field. This is the end section of the URL; for example, the Video ID for https://www.youtube.com/watch?v=UDyNsnB_COA is UDyNsnB_COA.
In the Alignment field, you can choose the video’s alignment in the column you place it in. Set the dimensions of the video. This is in pixels, but you just enter a number. You can enter just the width or the height, and the other value will be auto-calculated, assuming a 16:9 aspect ratio. If you have a video with a non-16:9 aspect ratio, enter both width and height.
There are a couple more options you can select. One is Autoplay, which is set to No by default, as it’s generally not considered good practice for videos to autoplay, and there is an option for additional API parameters. The most common of these is &rel=0. For a full list of YouTube parameters, please see this document. The YouTube Element also includes a Video Facade option to help with page speed. Once you have finished with the options, simply click save, and the video will be inserted into your page.
Element Options
Adding a Vimeo video to your website has never been easier thanks to the Avada Builder Vimeo Element. Just add the vimeo video ID and away you go. It’s even got built in responsive features, so you don’t have to worry about the size of your videos! Read below to discover more about the Vimeo Element!
How To Use The Vimeo Element
Adding a Vimeo video to your content couldn’t be easier with the Vimeo Element. To start, simply add the element to your desired column.
Now you have the options window open. The first and most important step is to place the Vimeo video ID into the Video ID field. This is the the end section of the url; for example the Video ID for https://vimeo.com/75230326 is 75230326.
In the Alignment field, you can choose the alignment of the video in the column you are placing it in. The dimensions of the video are next. This is in pixels, but you just enter a number. Vimeo videos do not force an aspect ratio, however, the most common one is 16:9. When entering the dimensions with this element, the only really important one is the width. The video will display at its native aspect ratio.
There are a couple more options you can select. One is Autoplay, which by default is set to No, as it’s generally not considered good Netiquette for videos to autoplay, and there is an option for additional API parameters. The most common of these is &rel=0, which will disable related videos at the end of the video playing. There is also a Video Facade option, to help with page speed.
Element Options
The Lightbox Element is one of several media elements offered by Avada. Lightbox is also integrated into Avada for galleries and in various other areas, but the Lightbox Element is for single image or video use on any page or post. If you want to show more images, use the Gallery Element instead. Read on for an overview of this simple but very useful visual Element.
How To Use The Lightbox Element
The Lightbox Element is a very simple Element to use. To start, just add the element into your desired column.
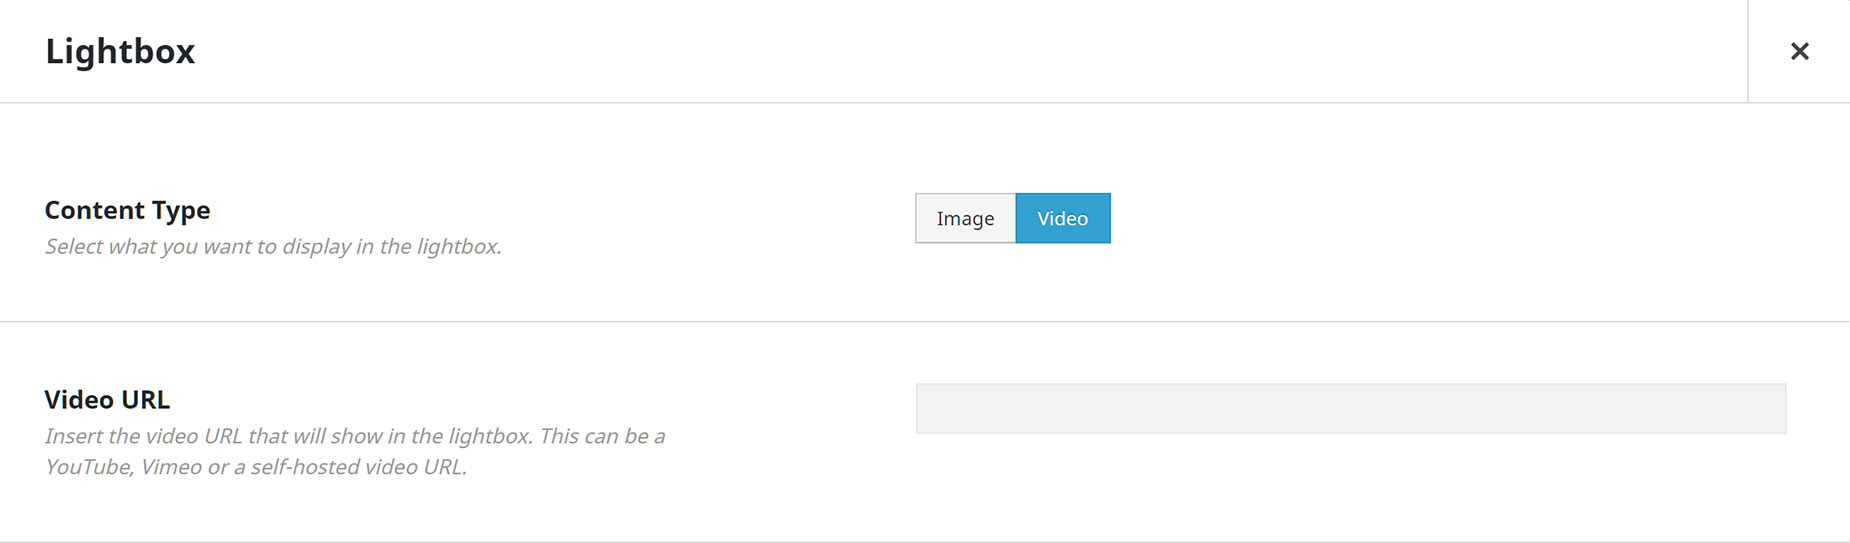
At this point, you have the options window open. The first step is to choose which sort of media you wish to display. You can show images or videos in Lightbox.
The next step is to upload the full-size image. This is the image that will be displayed when you open the Lightbox. Alternatively, place the URL for the video in the field below. Then you choose the Thumbnail image. This is what will display on the page before you open the Lightbox. Finally, there is an Alt Text and a Description Field if you wish to use these, as well as a CSS Class and a CSS ID field.
Once you have finished configuring your options, remember to save your work.
Element Options
These are the element options for the Lightbox Element added through the Avada Builder. You can also add a Lightbox Element to a content area (eg. a Text Block Element), via the Element Generator found in the WordPress Content Editor toolbar. Learn more about Inline Elements here.
Note: The displayed option screens below show ALL the available options for the element. If you have Avada’s Option Network Dependencies turned on, you will only see options relevant to your selections, and so the options screen may look somewhat different.
Global Options
There are no Global Options for the Lightbox Element, but the styling options found in the Global Options for Lightbox (Avada > Options > Lightbox) will affect the visual appearance of the Lightbox used by the Element. Follow the link below to read more about the Lightbox Global Options.
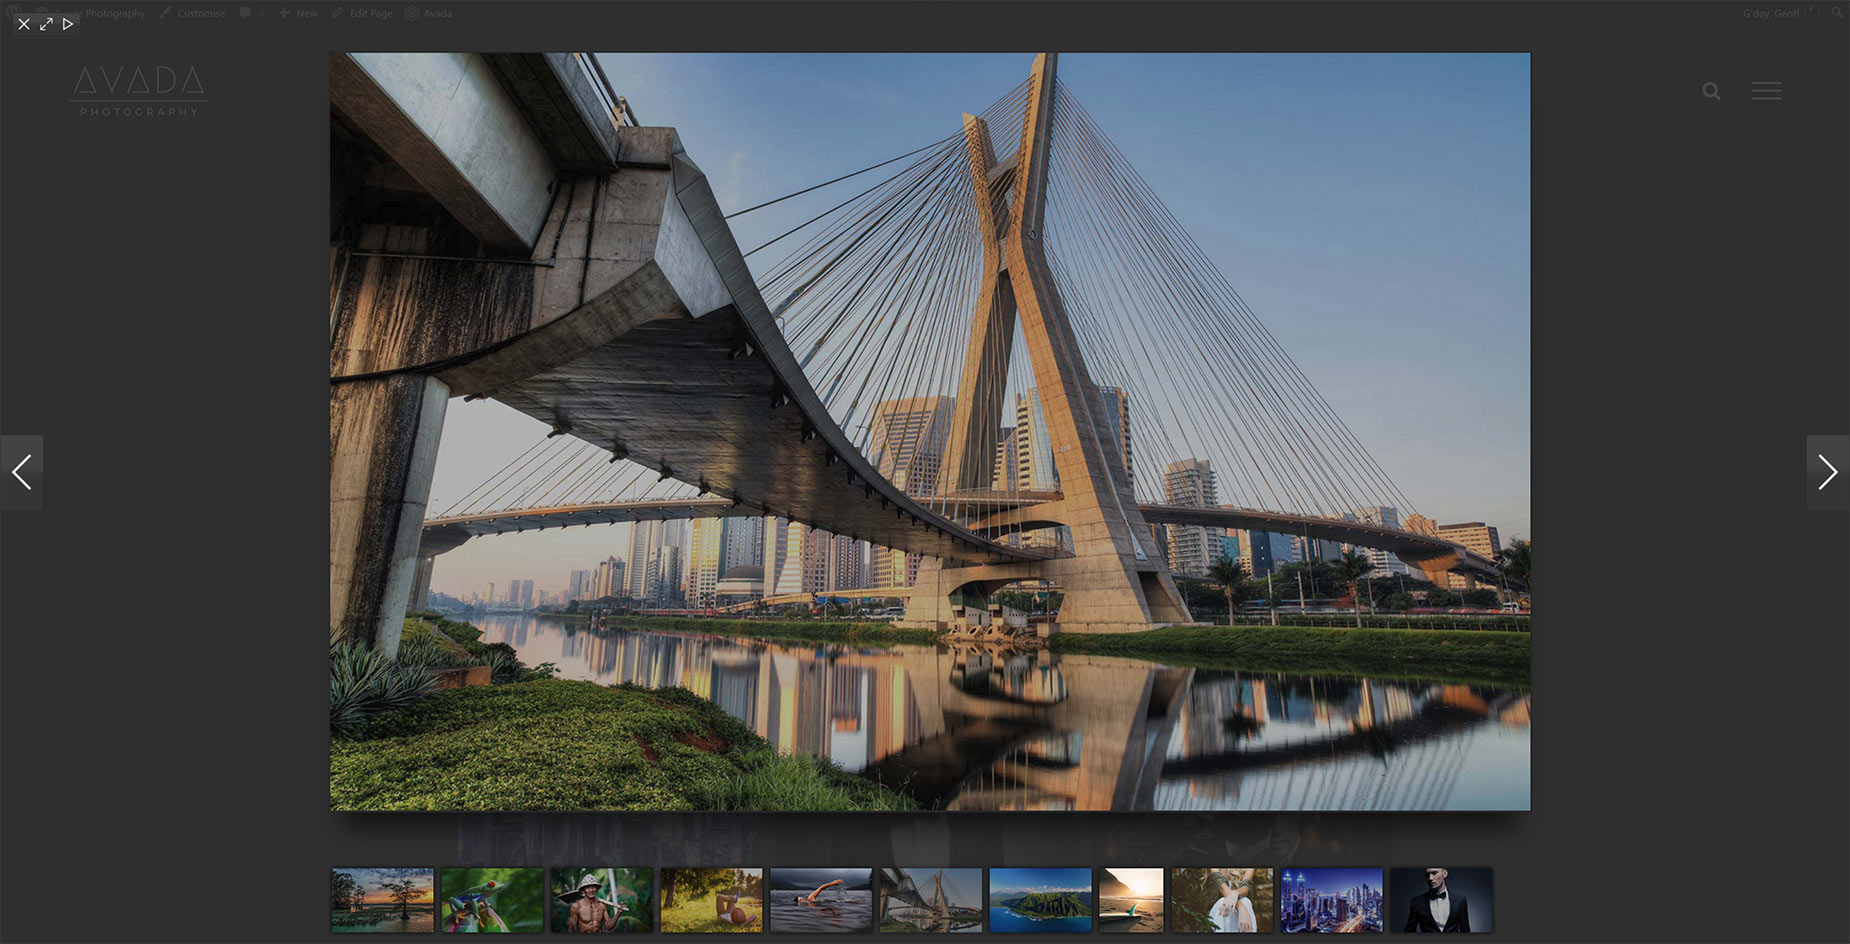
The lightbox we use in Avada is called iLightbox and it is compatible with Youtube, Vimeo and self-hosted videos. The Lightbox can be triggered from the Lightbox Element, but also in many other places thoughout Avada. Read on for more information on where and how you can show videos in a Lightbox in Avada.
Locations You Can Show Videos In A Lightbox
How To Link Videos In Columns
Step 1 – Edit the column you’d like to link a video to, or create a new one.
Step 2 – In the Column options, set a video URL in the Link URL field.
Step 3 – In the Link Target option below this, choose Lightbox from the options.
Step 4 – That’s it. Your entire column is now a link and the video will open in a lightbox when the column is clicked.
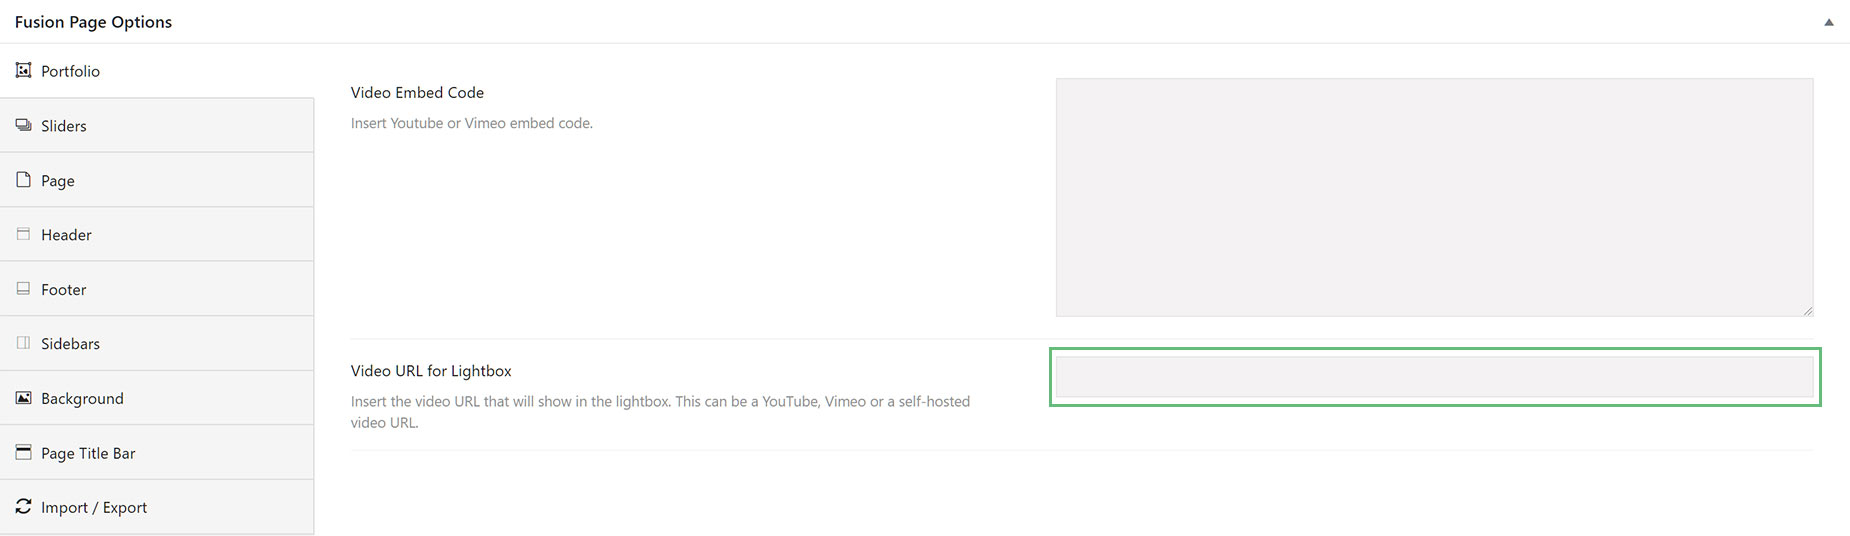
How To Insert Videos In The Lightbox For Portfolio Posts
Step 1 – Open the portfolio post you’d like to add a video to, or create a new one.
Step 2 – In the Avada Page Options, locate the ‘Video URL for Lightbox‘ field and paste your video’s link URL. For example, https://vimeo.com/63534746. You can insert both Youtube/Vimeo videos and self-hosted videos.
Step 3 – Once you’re finished making changes, click Save Draft or Publish/Update.
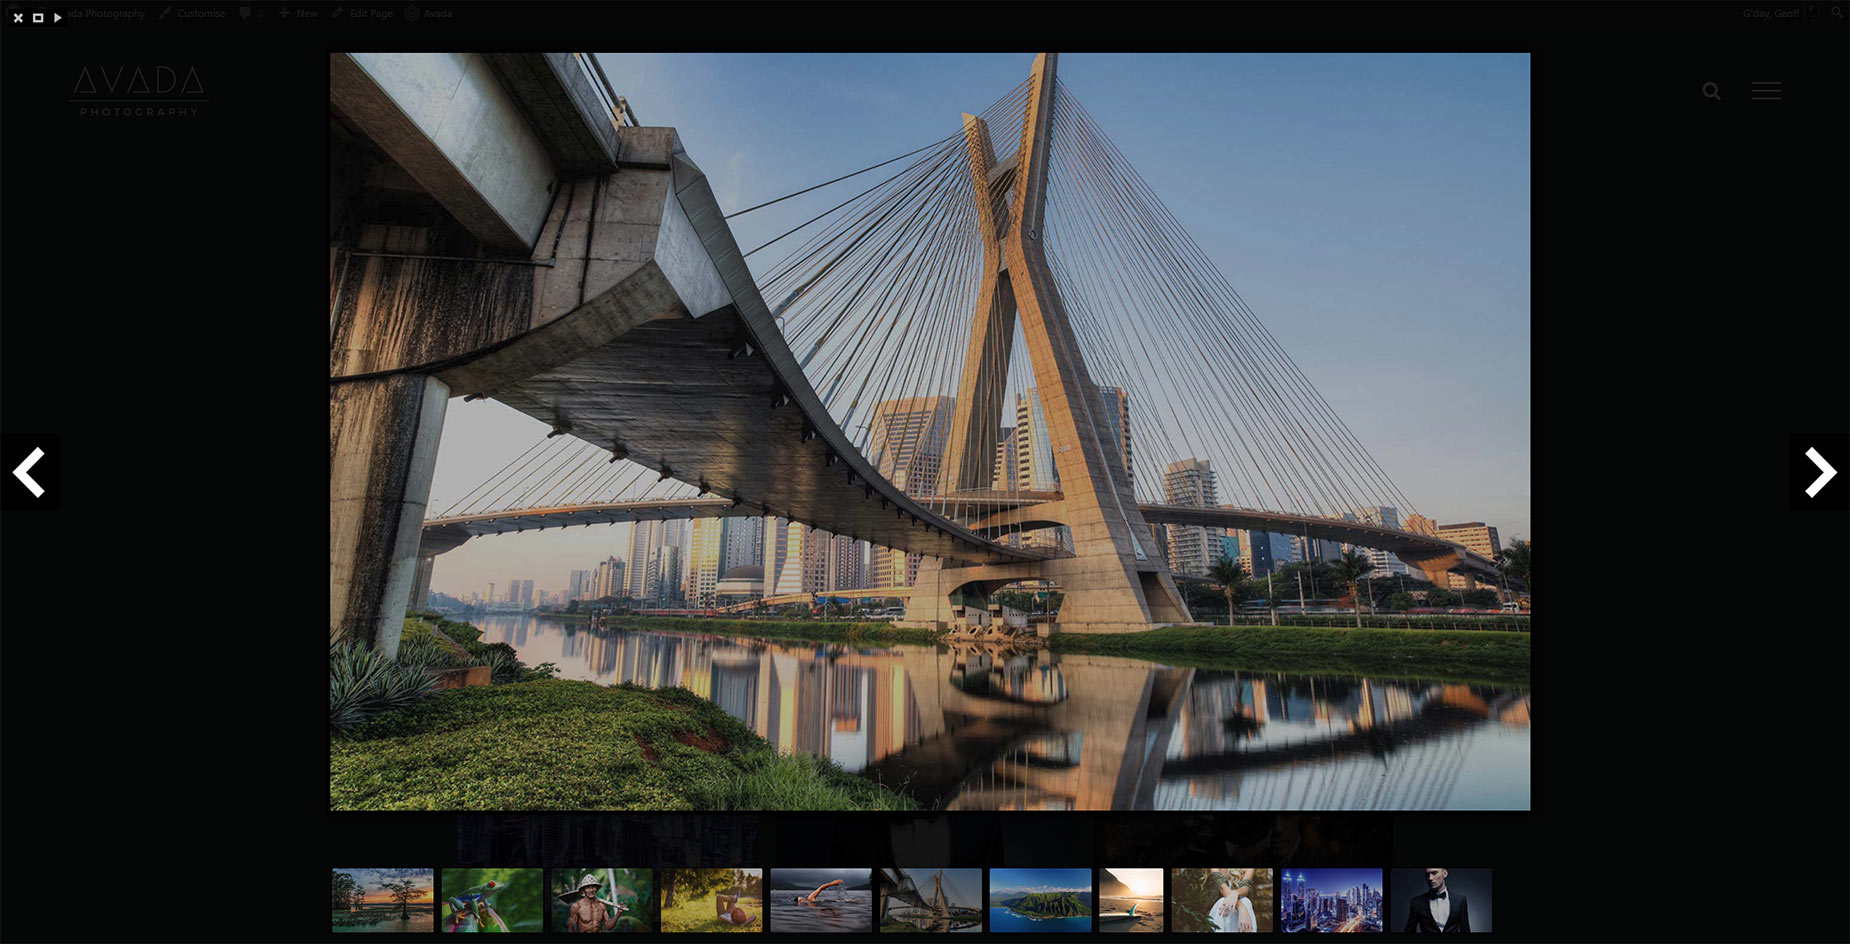
The video is triggered by the Zoom icon on the Portfolio item thumbnail.
How to Launch a Video through the Lightbox Element
How to Launch a Video through the Button Element
You can also launch a YouTube or Vimeo video in a Lightbox through the Avada Builder Button element.

How To Insert Videos In The Lightbox For Regular Media
Step 1 – Open the page or post you’d like to add a video to, or create a new one.
Step 2 – Click the Insert/Edit Link button in the top row of the page editor, just after the alignment buttons.
Step 3 – Click the Link Options (the cog icon) and paste your video’s link URL in the URL field. For example, https://vimeo.com/63534746. Add your Link Text in the Link Text field below this.
Step 4 – Once you’ve inserted the link URL, click the Add Link button on the lower right corner.
Step 5 – After you insert the video, you must add rel=”iLightbox” to the link tag. As an example, please refer to the image below.

How To Set Video Size in Avada Global Options
Step 1 – Navigate to the Avada > Options tab.
Step 2 – Go to the Lightbox tab, and locate the Slideshow Video Width and Height options. Set the width and height of your video by entering a pixel value into the corresponding setting. For example,1280px for the width and 720px for the height.

Common Issues or Questions
My Youtube or Vimeo video is too large!
This issue is because you’re using the embed URL instead of the link URL.
Lightbox is an Avada option that allows you to open beautiful, responsive overlay windows, containing images or videos. Below you’ll find a description on each Avada Global Option available for the Lightbox, as well as the Lightbox Skins, the Lightbox Element, and the other elements that utilize the Lightbox.
Lightbox Global Options
The Global Lightbox Options are found in the Global Options at Avada > Options > Lightbox. These options affect the way Lightbox works across the site.
Lightbox – Allows you to enable or disable the Lightbox across your site. Choose between Yes or No.
Lightbox For Featured Images On Single Post Pages – Turn on to enable the lightbox on single blog and portfolio posts for the main featured images.
Lightbox Behavior – Allows you to set what the Lightbox will display for portfolio and blog posts. Choose between First Featured Image of Every Post, or Only Featured Image of Individual Post.
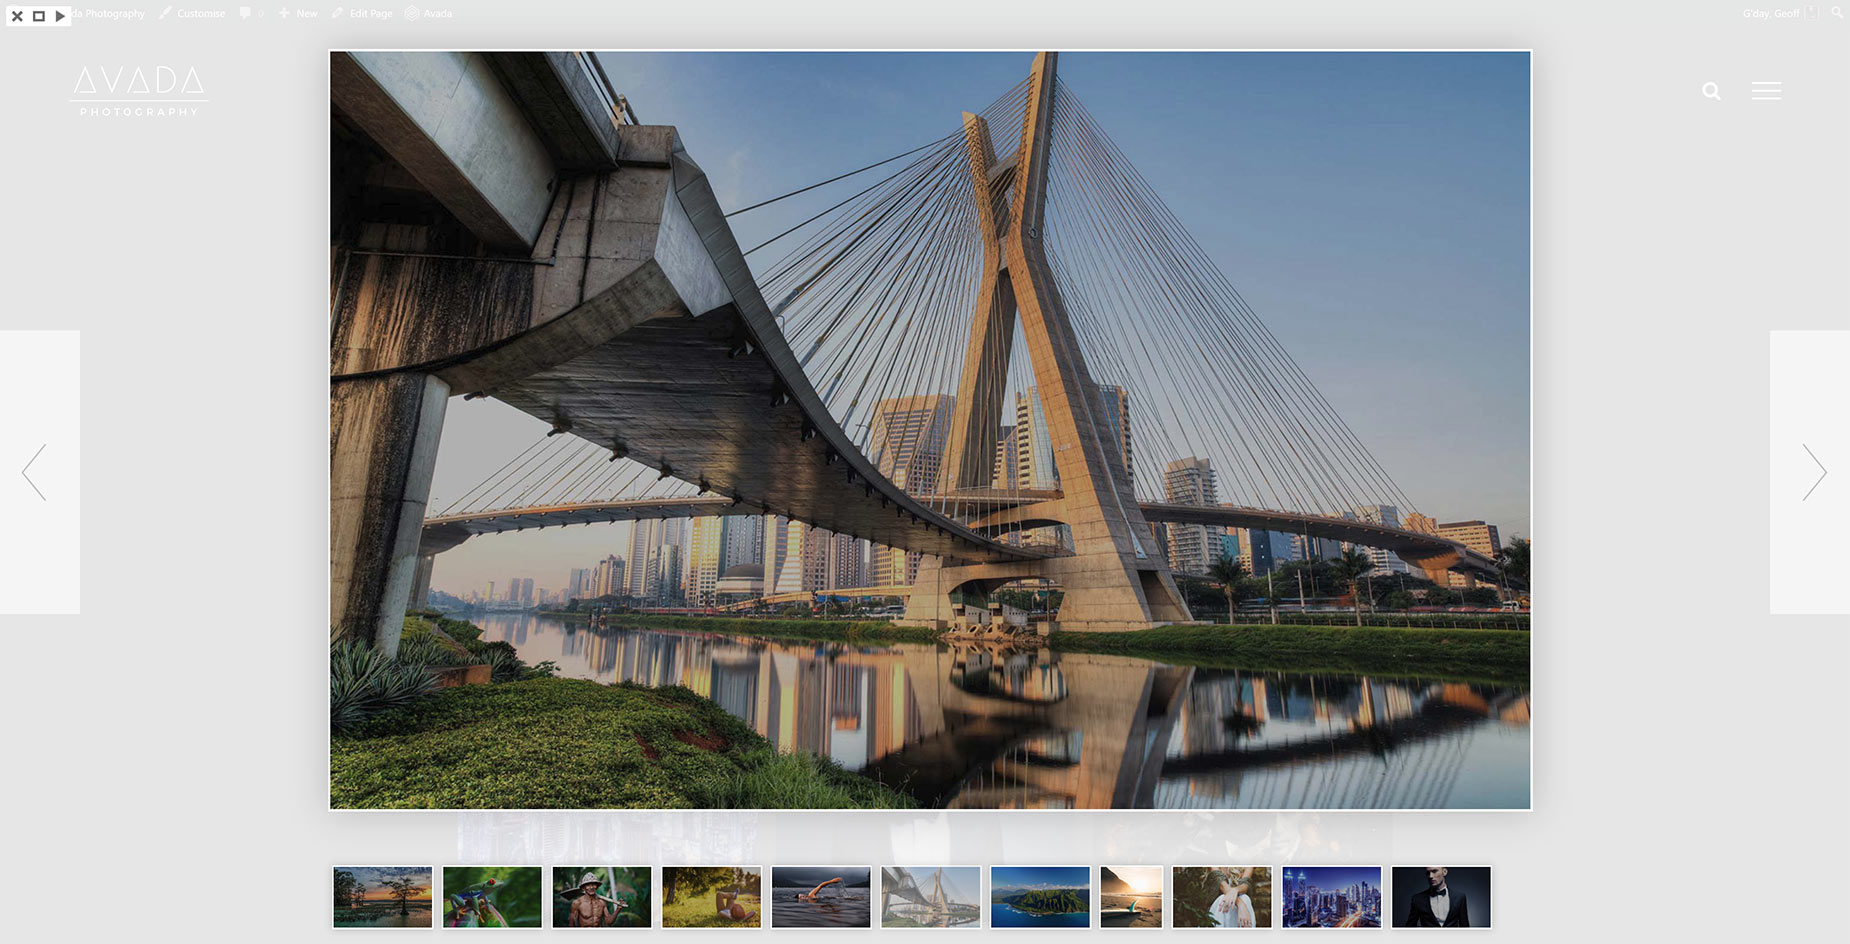
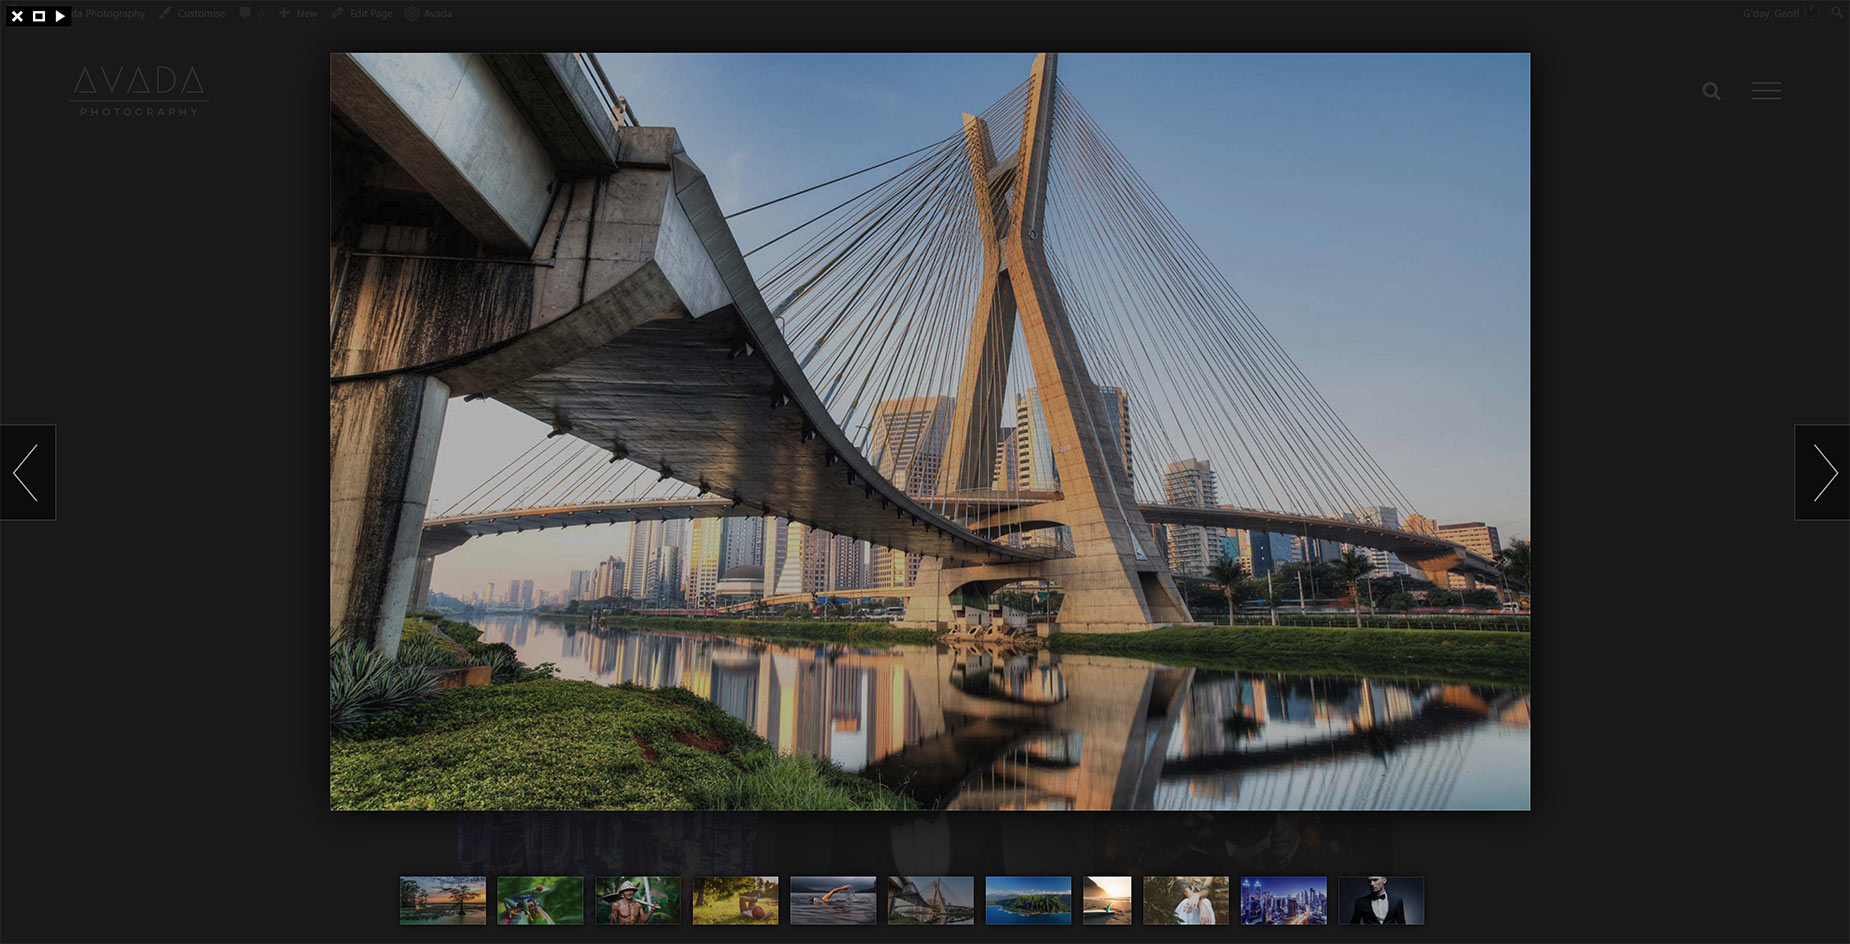
Lightbox Skin – Allows you to set a Lightbox skin. Choose between Light, Dark, Mac, Metro Black, Metro White, Parade or Smooth. See below for examples of the various skins.
Thumbnails Position – Allows you to set the position of the thumbnails in the Lightbox. Choose between Right or Bottom.
Animation Speed – Allows you to set the animation speed. Choose between Fast, Slow or Normal.
Arrows – Allows you to enable or disable navigation arrows. Choose from Yes or No.
Gallery Start/Stop Button – Allows you to enable or disable the gallery start/stop button. Choose from Yes or No.
Autoplay The Lightbox Gallery – Allows you to enable or disable the Lightbox gallery’s autoplay feature. Choose from Yes or No.
Slideshow Speed – Allows you to enter a numerical value that sets the slideshow speed if the ‘Autoplay The Lightbox Gallery’ option is enabled. For example, 1000 = 1 second.
Background Opacity – Allows you to enter a numerical value that sets the background opacity. For example, 0.00 (transparent) or 1.00 (opaque).
Title – Allows you to enable or disable image titles in the Lightbox. Choose from Yes or No.
Caption – Allows you to enable or disable the image captions in the Lightbox. Choose from Yes or No.
Social Sharing – Allows you to show or hide the social sharing button on the images in the Lightbox. Choose from Yes or No.
Deeplinking – Allows you to enable or disable deep linking image in the Lightbox. Choose from Yes or No.
Show Post Images In Lightbox – Turn on to display post images in the Lightbox that are inside the post content area. Choose from Yes or No.
Slideshow Video Dimensions – Accepts a pixel value that lets you control the width and height of videos inside the Lightbox. For example, 1280px x 720px.
Lightbox Skins
The Lightbox comes with a choice of seven skins – Light, Dark, Mac, Metro Black, Metro White, Parade, & Smooth. These are set in the Global Options at Avada > Options > Lightbox > Lightbox Skin. You can see an example of each style below.
Light

Dark
Mac
Metro Black

Metro White
Parade

Smooth
Lightbox Element
The Lightbox Element is added through the Avada Builder. You can also add a Lightbox Element to a content area (eg. a Text Block Element), via the Element Generator found in the WordPress Content Editor toolbar. Learn more about Inline Elements here. For full details on the Lightbox Element, please follow the link below.
Other Elements With Lightbox Options
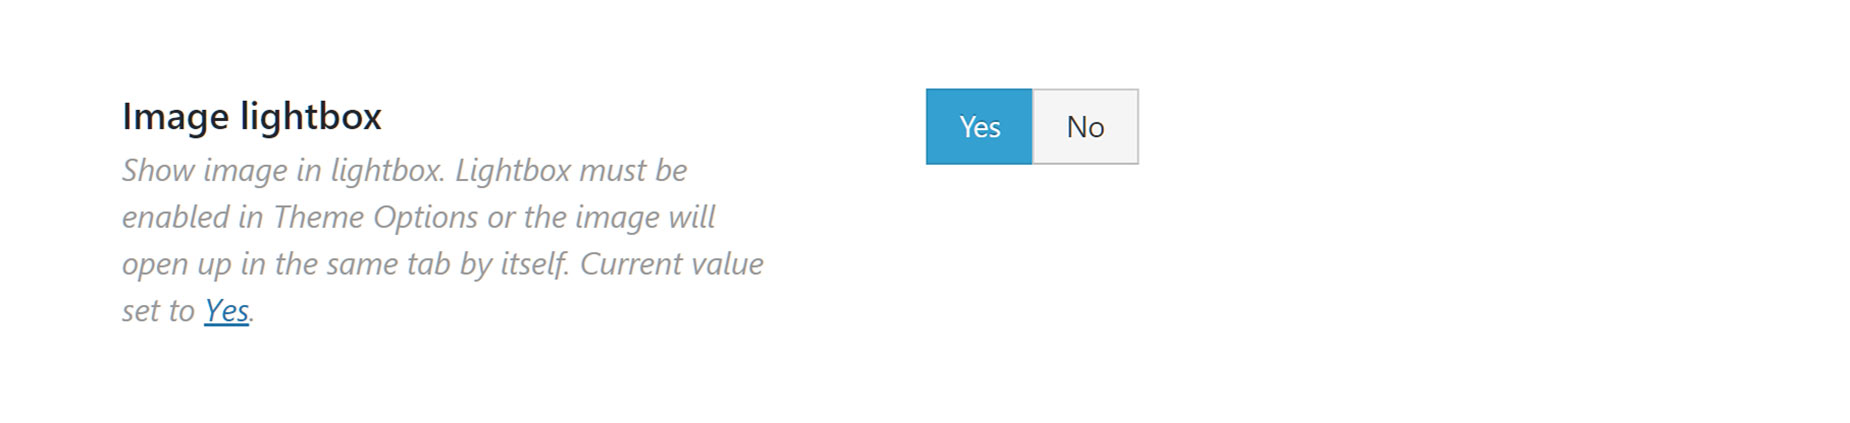
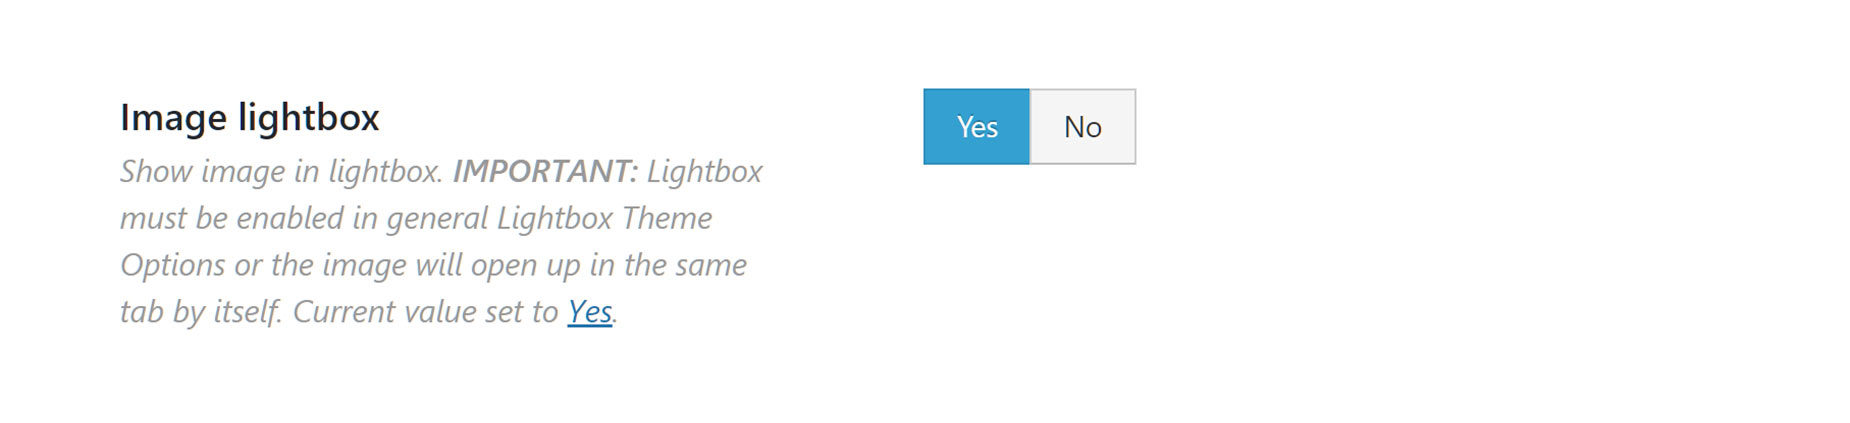
Image Element
In the Image Element, you can choose to upload and display an image in a lightbox, different from the image you choose to display inside the Image Frame. To enable that, simply select Yes on the Image Lightbox option. To upload a different display image to display on the lightbox, click the Upload button in the Lightbox Image field and select an image from your Media Library or upload a new one. You can also add images added via the Image Element to a Lightbox Gallery by linking them with the same Gallery ID.
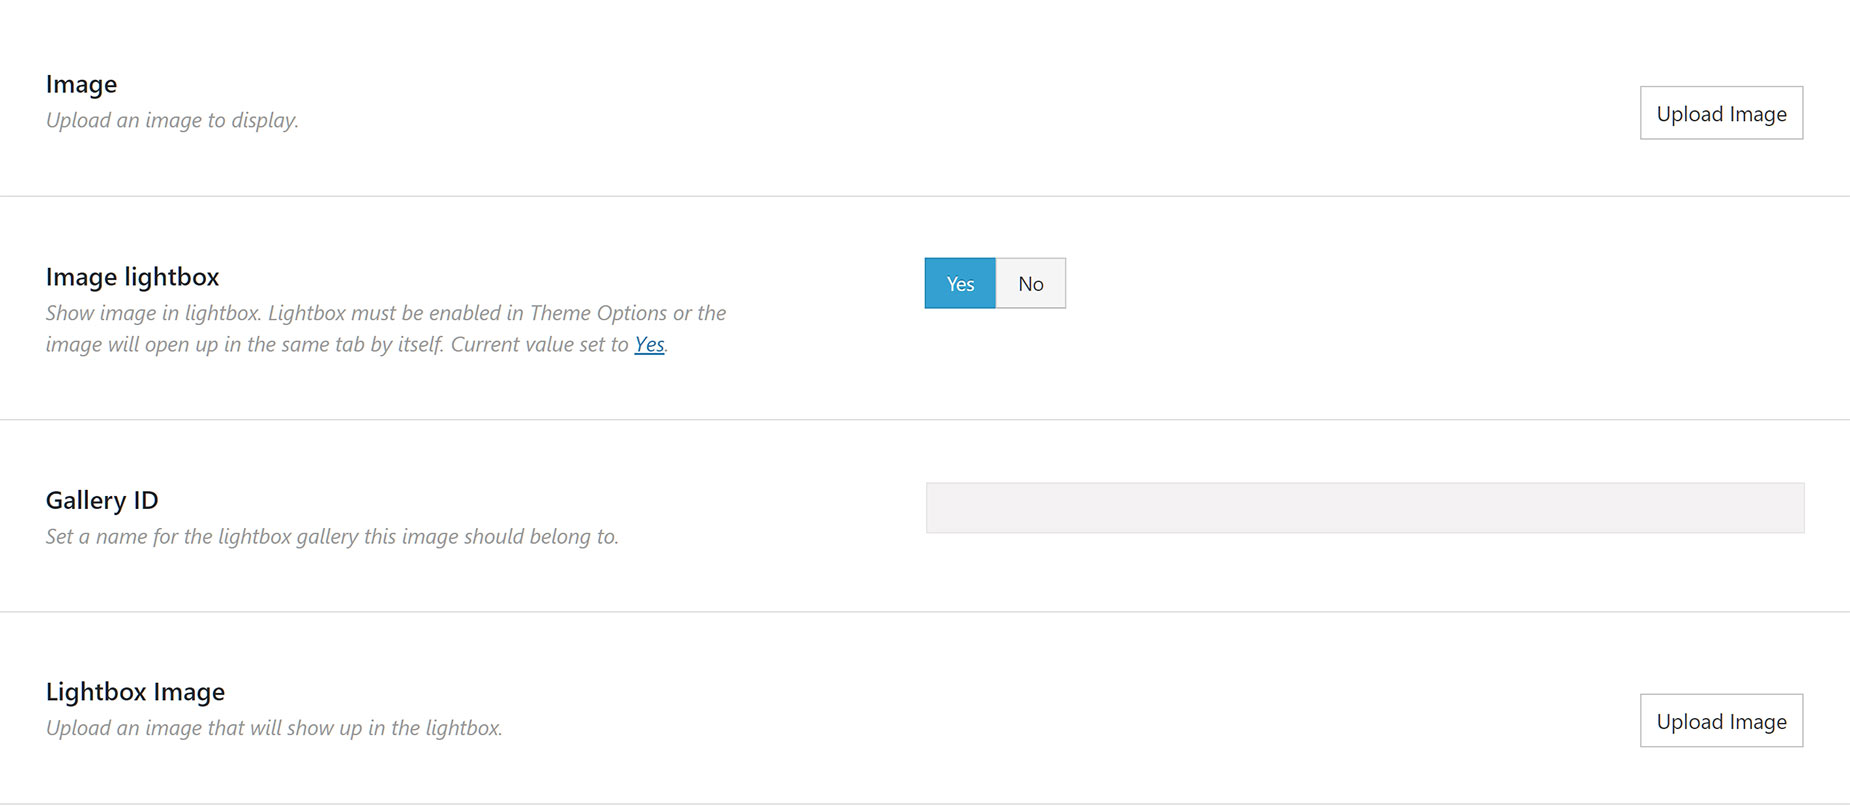
Image Carousel Element
In the Image Carousel Element, you can choose to display your images in a lightbox. To display images in a lightbox, simply select Yes on the Image Lightbox option.The Image Carousel Element will display your images in the Lightbox at the size they are uploaded. Avada uses an appropriate sized image for the carousel thumbnails. For more information on this, please see the How Avada Controls Responsive Images doc.
Gallery Element
The Gallery Element uses the lightbox by default. The Gallery will display your images in the Lightbox at the size they are uploaded. Avada uses an appropriate sized image for the gallery thumbnails. For more information on this, please see the How Avada Controls Responsive Images doc.


Aside from images and text, videos are a great way to showcase content on your website. Avada offers many ways for videos to be loaded into your site, including YouTube, Vimeo and self-hosted videos.
Self-hosted videos require a few steps to create and can use a few file formats per video. This step by step article will cover the various file formats of self hosted videos, how to make the required and optional file formats, areas of Avada that can use the videos, and how to use the videos in those areas.
A Self Hosted Video Consists of 4 File Formats
The Only Required Format is MP4
As mentioned above, mp4 is the only required video format for self-hosted videos. WebM and .ogv are optional formats.
The steps below assume that you already have a video to use. Videos come in many different formats, so the idea is that you need to convert your current video format to MP4 and WEBM files, which can then be uploaded and used on your website.
How To Create A MP4 File
Step 1 – After creating your video, make sure to save it in .MP4 format. The video should also be in 16:9 Aspect Ratio.
Step 2 – If you are unable to save your video in .MP4 format, you must convert it to .MP4 format via a 3rd party software, like Handbrake. Please see the links below for information on how to do this.
View Handbrake documentation.
How To Create A WEBM File
Step 1 – Once you have a video in .MP4 format, if you wish, you can also convert it to .WEBM format. You can do this with Media.io.
Step 2 – If you choose to use Media.io, you can simply upload your .MP4 video and it will automatically convert it to .WEBM format.
IMPORTANT NOTE – Self hosted videos can be very large in size, which is not good for a website. Conversion tools like Handbrake and Firefogg will drastically reduce file size. Handbrake and Firefogg are 3rd party applications and are not affiliated with ThemeFusion.
A properly encoded and compressed video shouldn’t be more than 4-8 MB for a 30-60 seconds clip. Avoid adding larger video files > 10MB as they contribute to overall page size and will be a cause of negative user experience.
Areas You Can Use Self-Hosted Videos
How To Upload Your Video File(s)
Once you have your video as an .MP4 file, you’re now ready to upload it.
Step 1 – Choose the area of the site you want to use self-hosted videos. Each area described above has slightly different upload methods, but all accept .mp4 files.
Step 2 – In your chosen area, simply upload the correct file format to the correct field. For example, upload the .MP4 file format to the .MP4 Upload field. There will be a field for the required file format, and in some cases, fields for the optional videos as well.
Step 3 – If there is just a simple text field with no video uploader button, like in the Container Element, you will need to upload the file to the Media Section and then copy and paste the URL.
Step 4 – If your media files are too big to upload through the Media Manager, you will need to update your server settings, or upload them to your server via FTP.

The licensing for Avada does NOT include the images or videos used in the Prebuilt Websites or the Avada Studio content blocks. With Avada Studio, we have sourced the images used from free sources, but it is still the user’s responsibility to ensure that all images are being used according to their copyright status.
Avada Studio Content
Follow the link below to see an extensive list of the media resources used in Avada Studio. From here, you can check the copyright status and conditions of the specific images in question. Please note, the sources have dates next to them as image website listings can change, and this list will not be maintained/updated by us.
Prebuilt Websites
Our prebuilt websites use a variety of both paid and free stock images and videos, and below we have a list of resources that can help you source either free or paid stock images for your site. Always make sure you read the details of each resource to fully understand the license it comes with.
General Stock Photos
Stock Videos
Graphics & Mockups
YouTube offers a lot of parameters, that you can use in the video embed code, to have full control over your videos. Below are some links and a list of these parameters. All of the player controls for any YouTube player can be found in this Reference Doc.